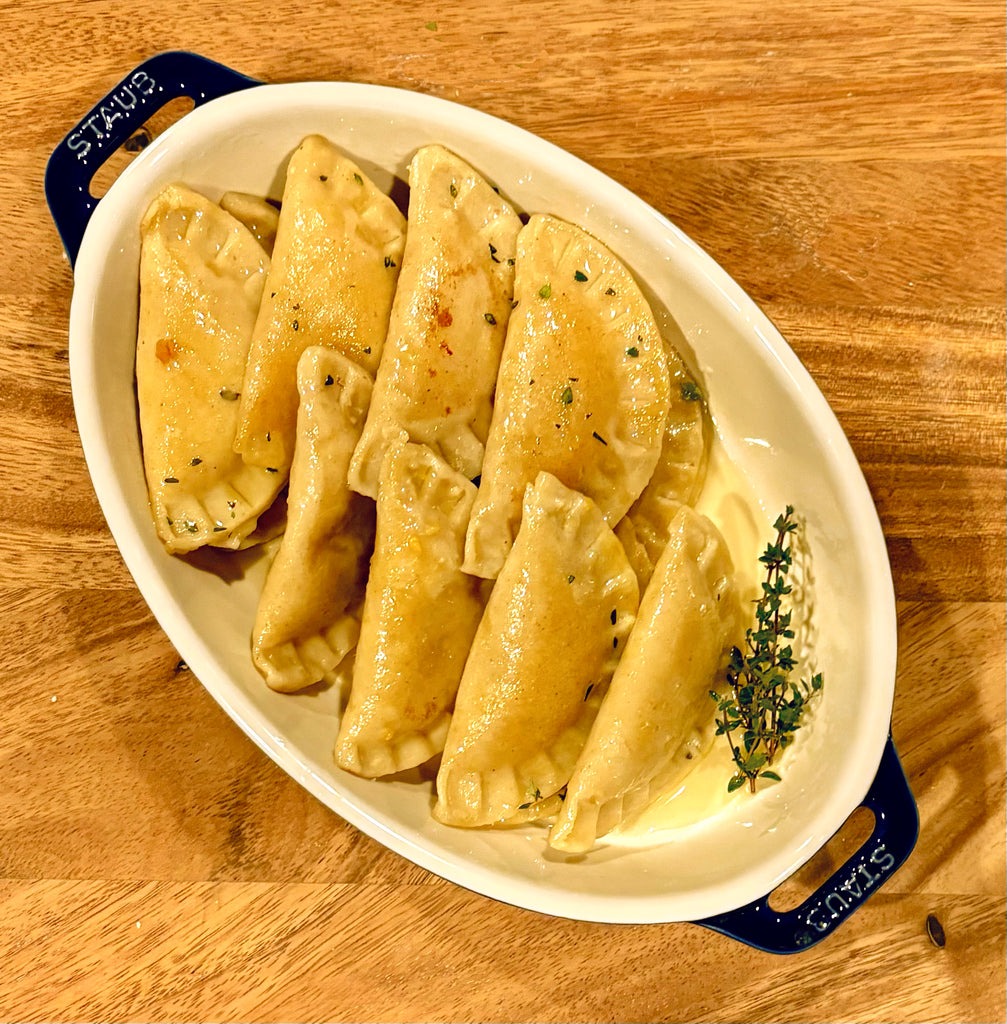
Roasted Butternut Squash Feta Pierogi with butter is an amazing dish that wraps American fall flavors in Polish dough. The filling is very simple. You'll just need to give yourself some extra time as the squash needs about an hour to roast and cool slightly. I'm excited to share this recipe as it's so good!
Butternut Squash Feta Pierogi Recipe
Ingredients
- 1 bag Pierogi Mix
- ½ tsp. salt
- ¼ c. sour cream of choice
- 2 egg or "just egg" or "simply eggless"
- ½ c. milk of choice
- food starch
Roasted Butternut Squash Feta Filling
- 1 butternut squash, medium (about 3 cups if cut up)
- 1 vidalia onion, chopped
- 1 c. feta cheese
-
½ tsp. thyme dried or 1 tsp. thyme fresh
- ½ tsp. salt, plus more for roasting squash
- ground black pepper to taste
- 3 tbsp. avocado oil
Directions for the filling:
-
Preheat the oven to 425F;
-
Cut up butternut squash in half; using spoon or ice cream scooper, remove seeds. Line a sheet pan with parchment paper or foil for easy clean up, brush flesh sides with 2 tablespoon of oil and season with salt and pepper;
-
Roast the squash for 50-60 minutes until fork tender;
-
In the meantime, chop the onion; add 1 tablespoon of oil to the pan and sauté onions until slightly brown for about 5 minutes; add thyme and cook for another minute; let cool off;
-
Once the squash is cooked, let it cool slightly and then scoop it out to the food processor;
-
Process it for about a minute until almost smooth;
-
Add onion/thyme mixture and feta cheese, salt & pepper to the food processor and pulse 2-3 times until mixed but still having texture;
-
Check for seasoning and adjust if needed;
Directions for the dough:
-
Combine pierogi mix, salt, sour cream, egg, and milk in a large bowl.
-
Mix until the dough comes together. If the dough is dry, add more milk 1 tablespoon at a time, until it's moist and springy. If the dough is sticky, add tapioca flour, 1 tablespoon at a time, until it's smooth.
-
Cover loosely with plastic wrap and let rest 30 minutes. This will allow the gluten-free flour to fully absorb the moisture. Divide it in half, wrap the other half in plastic, and set it aside.
-
On a work surface, lay plastic wrap and dusted it with food starch, roll out the pierogi dough to a 1/8-inch thickness.
-
Using a 3-inch round cutter, cut the dough. Gather scraps, cover with plastic wrap and set aside.
-
Using a 1 1/2-inch cookie scoop, portion the filling, on all the dough circles.
-
Fold the dough over filling to create a half-moon shape. Use water to dampen the outer edge of the dough. Press edges together, sealing and crimping with your fingers. Roll, cut and fill reserved scraps.
-
Pierogi can be boiled fresh or frozen. Bring a deep pot of salted water to a rolling boil. Reduce to a simmer and drop 12 pierogi at a time into the water. Stir once so they don't stick to the bottom. When they rise to the surface, cook 5 minutes on each side or until dough is done to your liking (based on the thickness of dough).
-
Remove with a slotted spoon to a platter that has been smeared with butter. Pierogi will stick together if drained in a colander, even if the colander has been coated with cooking spray.
-
Repeat until all pierogi are cooked. Serve with melted butter and sour cream, if desired. Or sauté in melted butter until golden. Serve warm!
